The Art of Decal Application
Text and Photos by DRIVE! Staff
Stick It to Them
By DRIVE! Staff
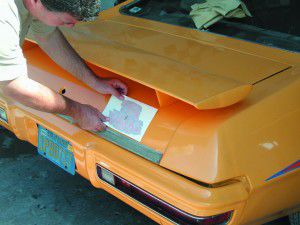
Nothing says muscle car like a set of appropriately placed (and original looking) stickers. Was there a time when decals meant more? In the case of this ’70 Pontiac GTO Judge, the hood from Original Parts Group (OPG) looked great, but needed the right official decals. Follow along as we apply our Ram Air IV decals.
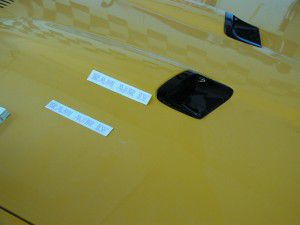
An assembly manual is a handy thing when trying to find the right position for decals. Even a fraction of an inch off the proper placement can ruin a restoration and give your car that poor quality “clone” appearance.
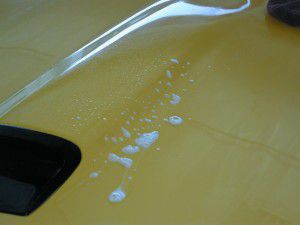
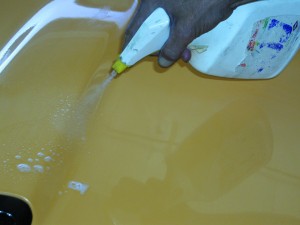
Never put your decals on a dry surface. The same soap you use to clean the area receiving the decal can also be used as a lubricant so your decal can be slid into the exact location required.

Peel off the backing from the decal, making sure not to disrupt the decal itself.
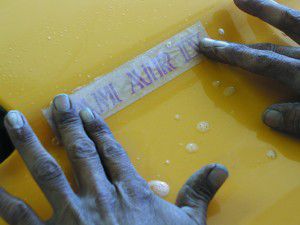
With plenty of soap to keep the surface wet, the decal is positioned. Using a grease pencil to make some guide marks can be helpful.
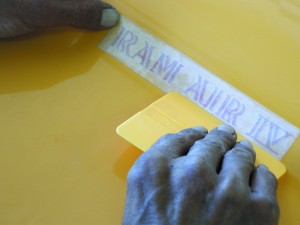
A rubber body filler blade or plastic squeegee can be used to remove the water under the decal. Don’t press too hard and damage the decal, but make certain all of the air bubbles are removed.
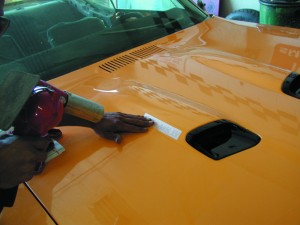
A hairdryer is used to remove the last of the water and help set the glue. Don’t overdo it with too much heat, which can melt the decal.
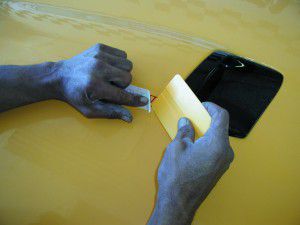
Carefully pull up the leading edge of the decal covering using the squeegee to help keep the decal stuck to the car.
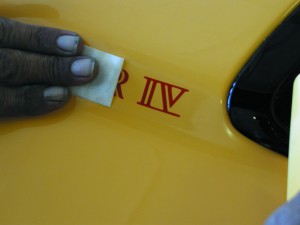
Fold back the cover material 180 degrees to the surface and then slowly pull it back. If the decal begins to pull up, stop and burnish it down again through the cover sheet.
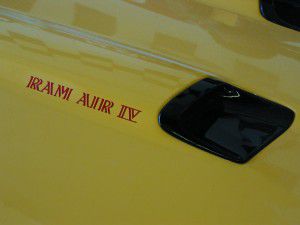
The final look. Check for edges that have lifted and make sure they are stuck down tight.
