Tech Spotlight: Joe’s ’69 Elco – Front Suspension Continued
Text and Photos by Mike Finnegan
Article
In Part 1 of this tech feature, you got some insights into a new attitude towards A-Body by taking a look at new suspension on Joe’s Elco. We started with the front suspension. Check out the final steps of the Front Suspension process. Be sure to check out Part 1 if you missed it and check back for the next installment of this tech spotlight!
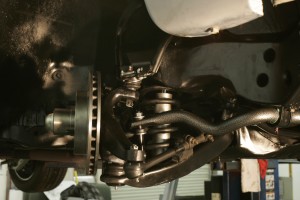
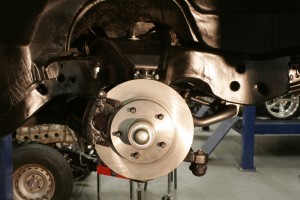
The plan was to replace the worn-out suspension with new parts from McGaughy’s that would lower the car 2 inches up front and 1 inch in the rear. We also replaced the factory front drum brakes with a McGaughys 11-inch disc brake conversion. Hellwig anti-sway bars were added at both ends of the car to take the lean out during hard cornering, and new bushings were added all the way around so that we could align the suspension afterwards. The steering was loose as a goose, so new links were inserted into the system and the stock steering box was replaced with an ABS Brakes quick-ratio unit.
We also added an ABS power brake booster that’s designed to work with a modified engine that doesn’t make much vacuum at idle. Although Joe’s Elco has a stock engine, at some point we’ll give it a bit more power so the new booster is a welcome addition. We spent two days working on this car, and when we were finished the Elco cornered like it was on rails and stopped better than most new cars. Here is a look at the install.
FRONT SUSPENSION (continued)

New rubber brake lines are provided and are attached to the factory hard line connection and the new caliper port.

Joe’s Elco had enough slop in the factory steering box that no adjustment of the set screw would cure it. We replaced the old box with a quick-ratio unit, which shortened the lock-to-lock turns of the steering wheel and improved steering input.

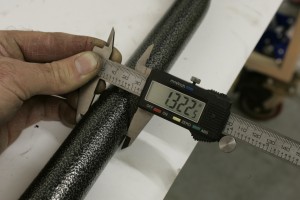
We’ve addressed most of the front suspension’s issues and now its time to turn our attention to the excessive body roll that this car exhibits while cornering. Hellwig anti-sway bars are large diameter units that work, and we’ll be installing one on each end of Joe’s Elco.

The rivets that hold the factory sway bar mounts in place are blasted off with an air chisel. Then, new frame mounts and poly bushings are greased and installed along with the Hellwig bar.

New end links require enlarging the factory mounting holes in the lower control arm but otherwise the bar attaches in the same manner as the old one.
Stay tuned for the remaining installments of this step-by-step tech tutorial. Next up? Increasing Stopping Power!


