Tech Spotlight: Joe’s ’69 Elco (PART 1 – Front Suspension)
Text and Photos by Mike Finnegan
Article
The first part of this in-depth tech spotlight will look at the step-by-step install of new suspension, steering, and brakes on a 1969 El Camino. Take a look at how better suspension, steering, and brakes gives the author a new attitude toward an A-Body. And be sure to keep checking back as we go through the installation of each major part of this process.
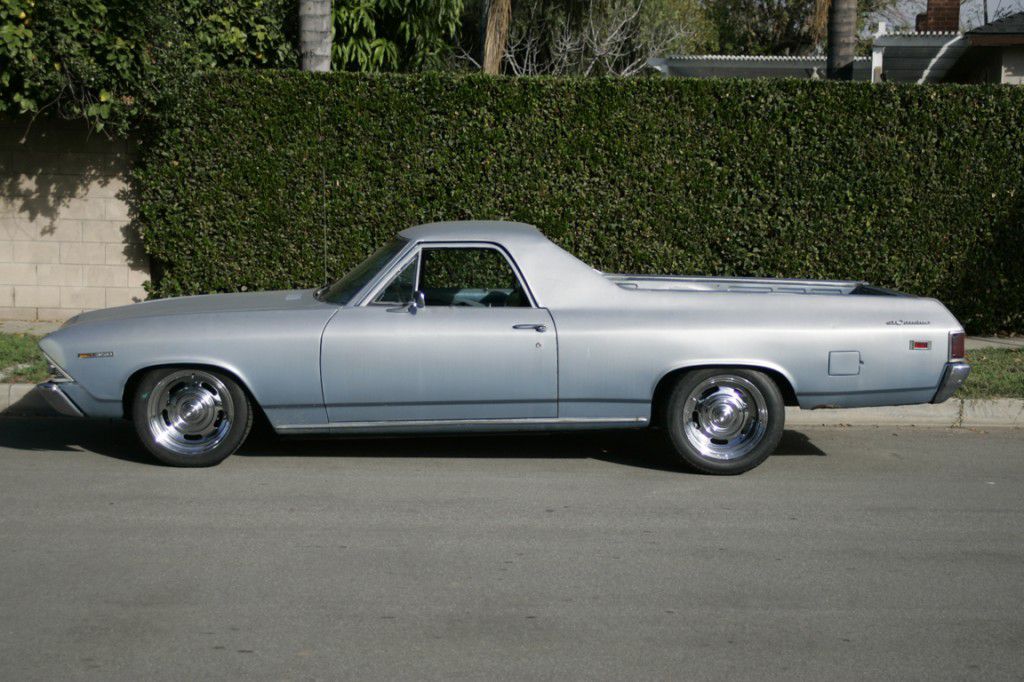
My wife’s grandfather, Joe Butera, bought this El Camino brand-new off the lot in 1969. He passed it down to his son, Joe, six years ago. When my father-in-law passed away, my wife and I became the caretakers of Joe’s Elco. While the car has remained unmolested for much of its life, it is in dire need of some routine maintenance.
The suspension, steering, engine, transmission and driveline components are bone stock, which is great, except that the car neither stops, starts, turns or drives well. The interior and body also need a bit of work as well. I decided to forget about the aesthetics for a while and focus on making the car safer to drive.
Tempting fate, I drove the car four hours north to Clovis, California, to see my friends at PPC Customs. Shane and Richard were excited to work on the Elco, and I was excited to see what a short road trip in the car would yield in terms of fun and breakdowns. After topping off the vital fluids, the car came to life and ran surprising well, although the 350/two-barrel engine sounded like a sewing machine and burned a quart of oil every 40 miles or so. By the time I reached PPC I had added so much oil to the crankcase that the dipstick was clean as a whistle because the engine had burned all of the old oil.
THE FRONT SUSPENSION

McGaughys tubular upper control arms add five more degrees of caster compared to the stock stamped steel units. We saved a few bucks by not grabbing the tubular lower control arms. They maintain the factory geometry but are more for looks than anything else.

These spindles are unique because they are designed to work with 1978-86 G-body disc brake parts. We won’t need bolt-on brackets to mount the single-piston calipers and 11-inch disc brakes.

We went with Bell Tech Street Performance gas shock absorbers because we had them and they work. The larger than stock dust can had to be removed to make them fit through the lower control arm.

After gutting the stock front suspension, we began prepping the new parts for installation. The upper control arms utilize the factory cross shafts, which must be ground down on one end to fit into the bushing sleeves.

The new bushings are pressed into place the easy way, with an appropriately sized socket and a hammer.

Since we were reusing the stock lower control arms we had to clean them up and replace the worn out bushings. An air chisel was used to push out the old hardware.

We bead blasted the arms clean, painted them using KBS Coatings Frame Coater kit, and then installed brand-new bushings.

The lower control arms were treated to a set of new ball joints before being reinstalled onto the car using the factory hardware.

Finally, the original coil springs were blasted, repainted, compressed and gently slid into the spring pockets. We had no idea how worn out these springs were. Ultimately, the car would be too low with the drop spindles and new tires in place. Later on, we swapped the worn out springs for a new set of stock length coils to keep the new tires from rubbing on the inner fender wells over hard bumps in the road.

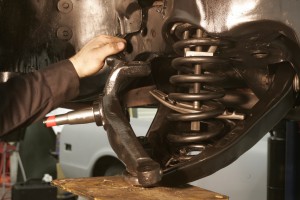
With the coil springs compressed, the drop spindles were placed onto the lower ball joints and then a pry bar was used to pull the upper control arm down far enough for the upper ball joint to slide into the spindle. New castle nuts and cotter pins were installed to tie it all together.

You can see the difference in diameter between the original front shocks and new dampers. Removing the dust covers from the Bell Tech dampers allowed us to slide them up through the lower control arm and into the chassis mounts.

It’s time to install the disc brakes. The supplied wheel bearings are packed with grease and inserted into the discs.
Check back for the second portion of the Front Suspension step-by-step process. And keep checking back for the next installment of Joe’s Elco re-do!


