How To Set Up a New Lincoln MIG Welder
Text and Photos by Courtney Halowell
Article
You’ve saved up some money and now you’re ready to invest in a new MIG welder. First, you did your homework to figure out how much power you need, and you found out whether or not your garage is wired to support a 220 circuit—just like we did. We decided to go with a new Lincoln Electric 255XT MIG machine, mainly because so many useful options are included with that model for free, like trigger lock, a spot weld timer, run-in adjustment and burn-back adjustment.
The four-step trigger interlock comes in handy when running a really long bead, or welding in a tight area where you have to modify your grip on the gun and can’t really hold in the trigger. The spot weld timer’s function is self-explanatory, and the device really comes in handy when working with sheet metal. The run-in adjustment allows the operator to adjust the run-in speed of the wire to make for the smoothest arc start possible. And the burn-back time adjustment allows the burn-back of the wire to be adjusted, preventing the end of the wire from getting stuck in the puddle once the trigger is released.
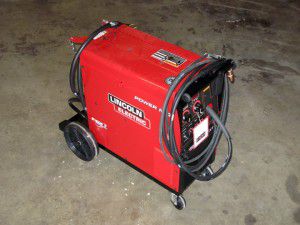
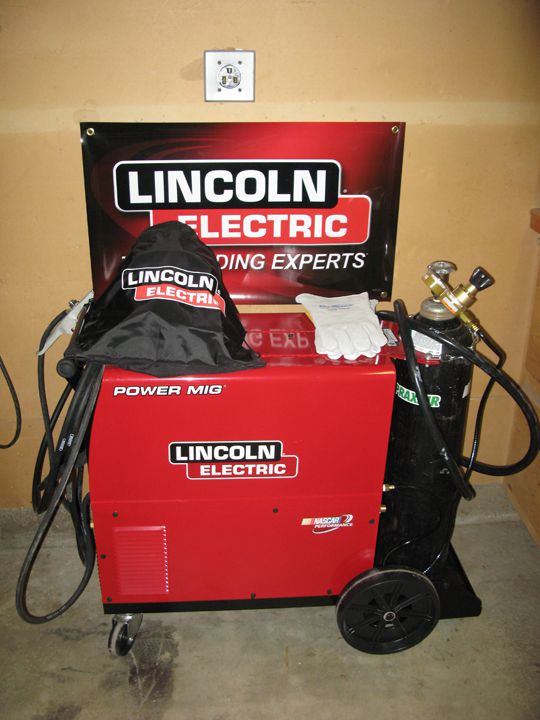
We were stoked to get our new Lincoln Electric welder home, but we still had to outfit it before we could begin welding.
The 225XT is also ready for the optional addition of a spool gun for welding aluminum. It uses aluminum filler wire and requires that you switch the shielding gas to pure argon. We haven’t picked up a spool gun yet, but it’s next on our list.
Initially, we are going to set up our new welder to weld steel because that’s the material we are primarily going to work with. Once we assessed the thickness of most of the steel we were going to weld using the new Lincoln welder, we made a list of items we needed to pick up from our local Praxair shop (there are locations everywhere). We headed out to finish outfitting our welder so we could put it to work.
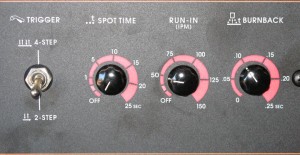
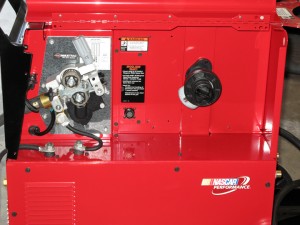
We decided to get to know our new welder. Sure, it has voltage and wire speed adjustments on the front, but it also has a few unfamiliar adjustments. The four-step trigger interlock is on the far left. The spot-weld timer is the next one over to the right. The run-in adjustment is next in line and allows for the adjustment of the run-in speed of the wire to create a smooth arc start. The burn-back adjustment (far right) allows adjustment of the burn-back wire to prevent the end of the wire from getting stuck in the puddle once the trigger is released.
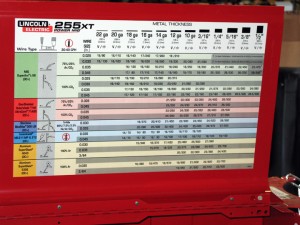
This handy chart is on the inside of the door. It shows all of the different filler wire types, shielding gas types and metal thicknesses, along with voltage and wire speed recommendations. We aren’t too proud to admit that we would be totally lost when it comes to voltage and wire speed without stickers like these.
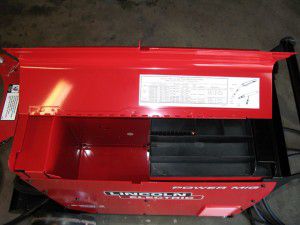
Under the door on the other side is a handy storage tray for spare parts and another sticker showing all of the parts for the gun and a list of part numbers that will come in handy down the road.

We also picked up one of Lincoln’s Viking 700G auto-darkening helmets. One of our friends has one at his shop, and we really liked it when we had the chance to use it, so we had to have one. It comes with replacement glass, storage bag and a bandana to wear under the helmet to keep sparks out of your hair.
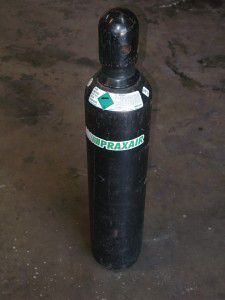
After we made a run to our local Praxair, we came home with a freshly leased bottle filled with welder’s mix (argon and CO2 mixed 75:25).
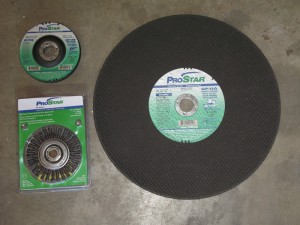
Praxair has all of the abrasives for our chop saw and grinder, as well as a wide selection of wire wheels. To get clean welds you have to remove all of the paint and rust from the metal that you’re planning to join together.
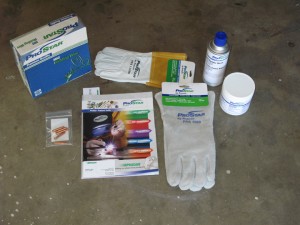
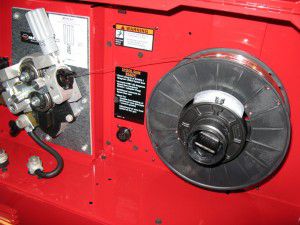
Praxair also has everything from filler wire, tips, gloves, anti-splatter spray, tip dip and a catalog full of other welding and fabrication supplies.
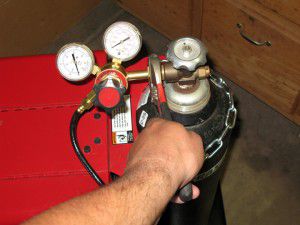
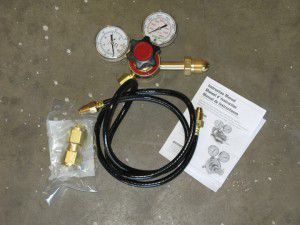
It only took a couple of minutes to hook up the regulator and plumb the shielding gas into the new Lincoln welder.
